
Printer Integration allows you to define and manage your on-premises printers integrated to Business Central that are connected via Fenwick Cloud Companion service. This article will guide you through the steps for setting up a Printer Integration record in Print-It with Cloud Companion.
Creating Printer Integration
- Open the Printer Integrations page via the Search box
- Choose New from the action bar
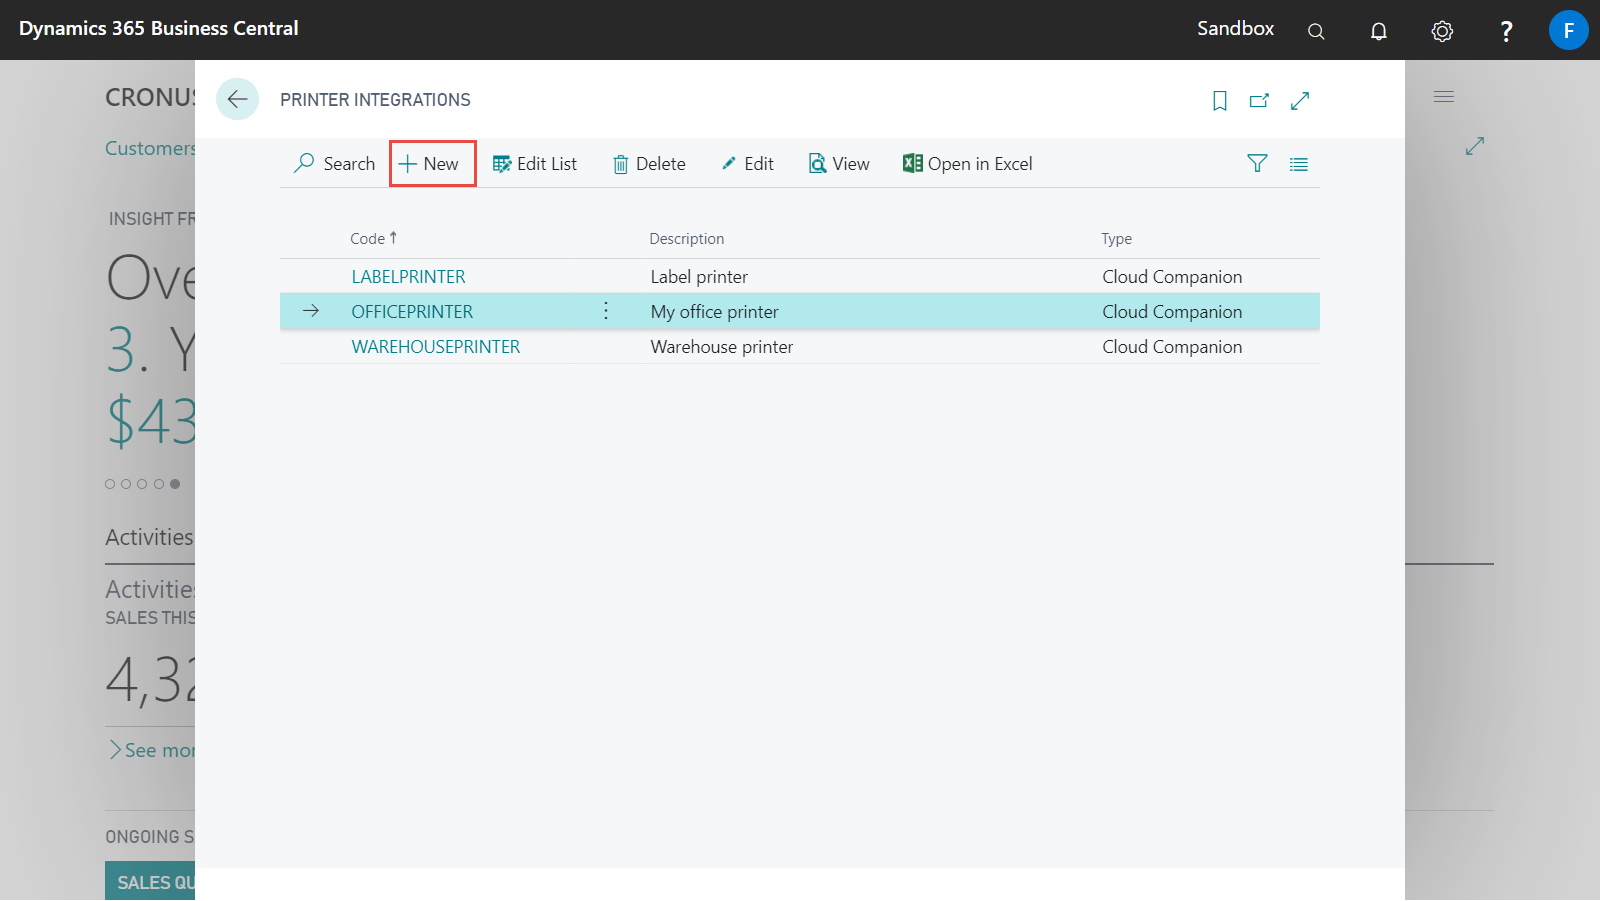
- Fill out the Code and Description fields, and then select Cloud Print on the Type field.
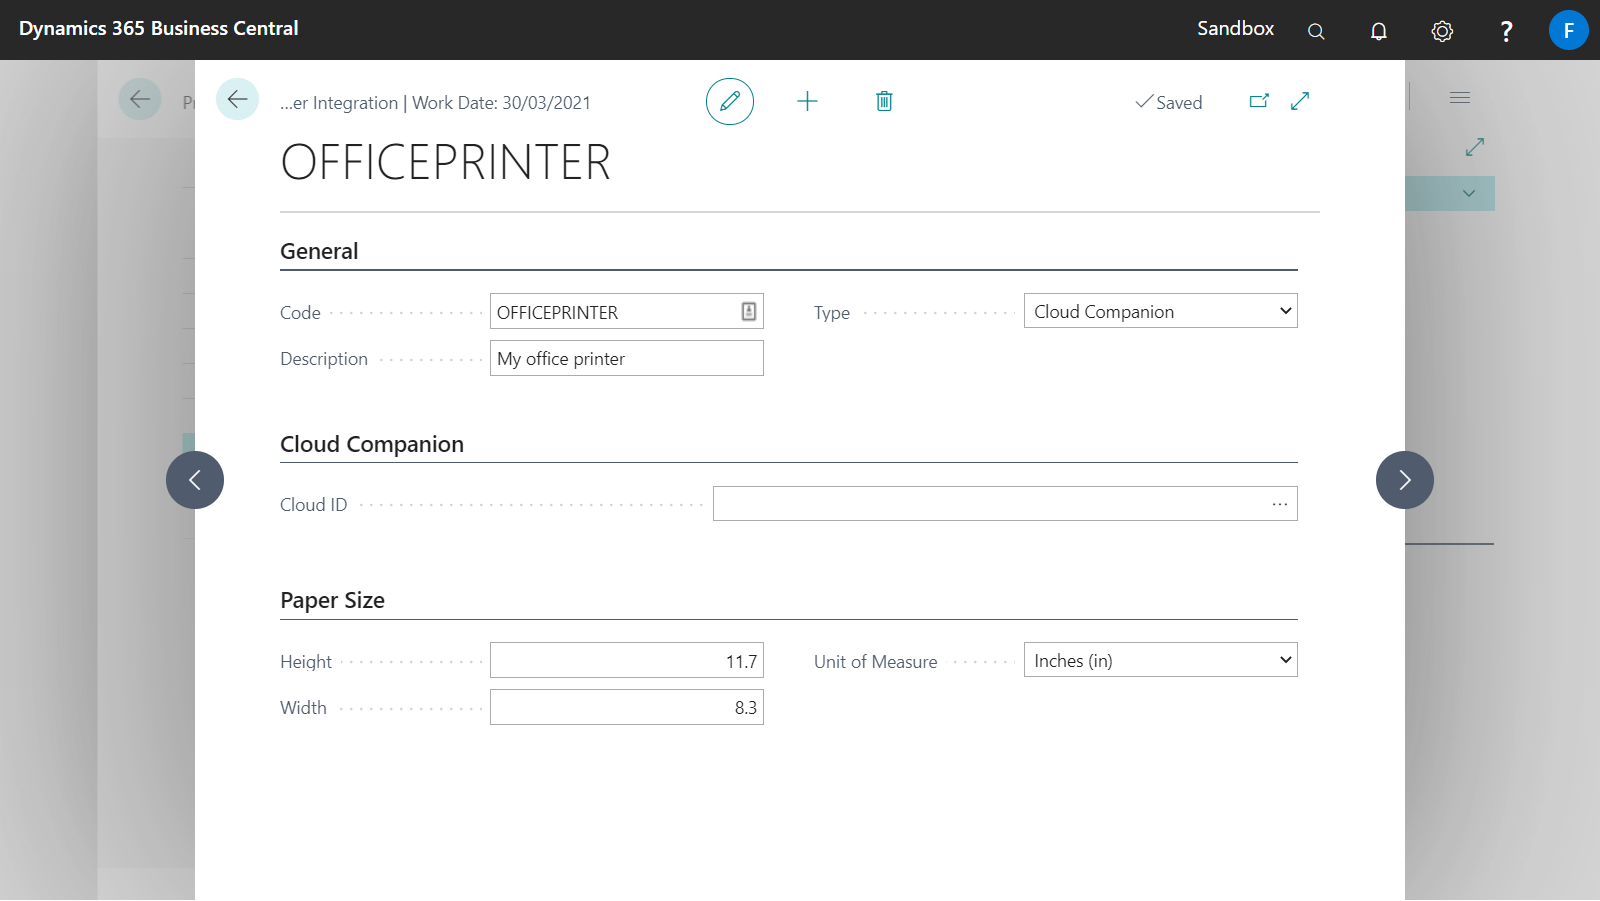
Field Description Code Specifies the code for the printer.Description Specifies a description for the printer.Type Specifies the type of the printer.Cloud ID Specifies the printer where labels and documents will be printed to - An additional section for Cloud Companion will now appear on the page. Choose the ellipsis icon on the field to open the list of your printers from Fenwick Cloud Companion service.
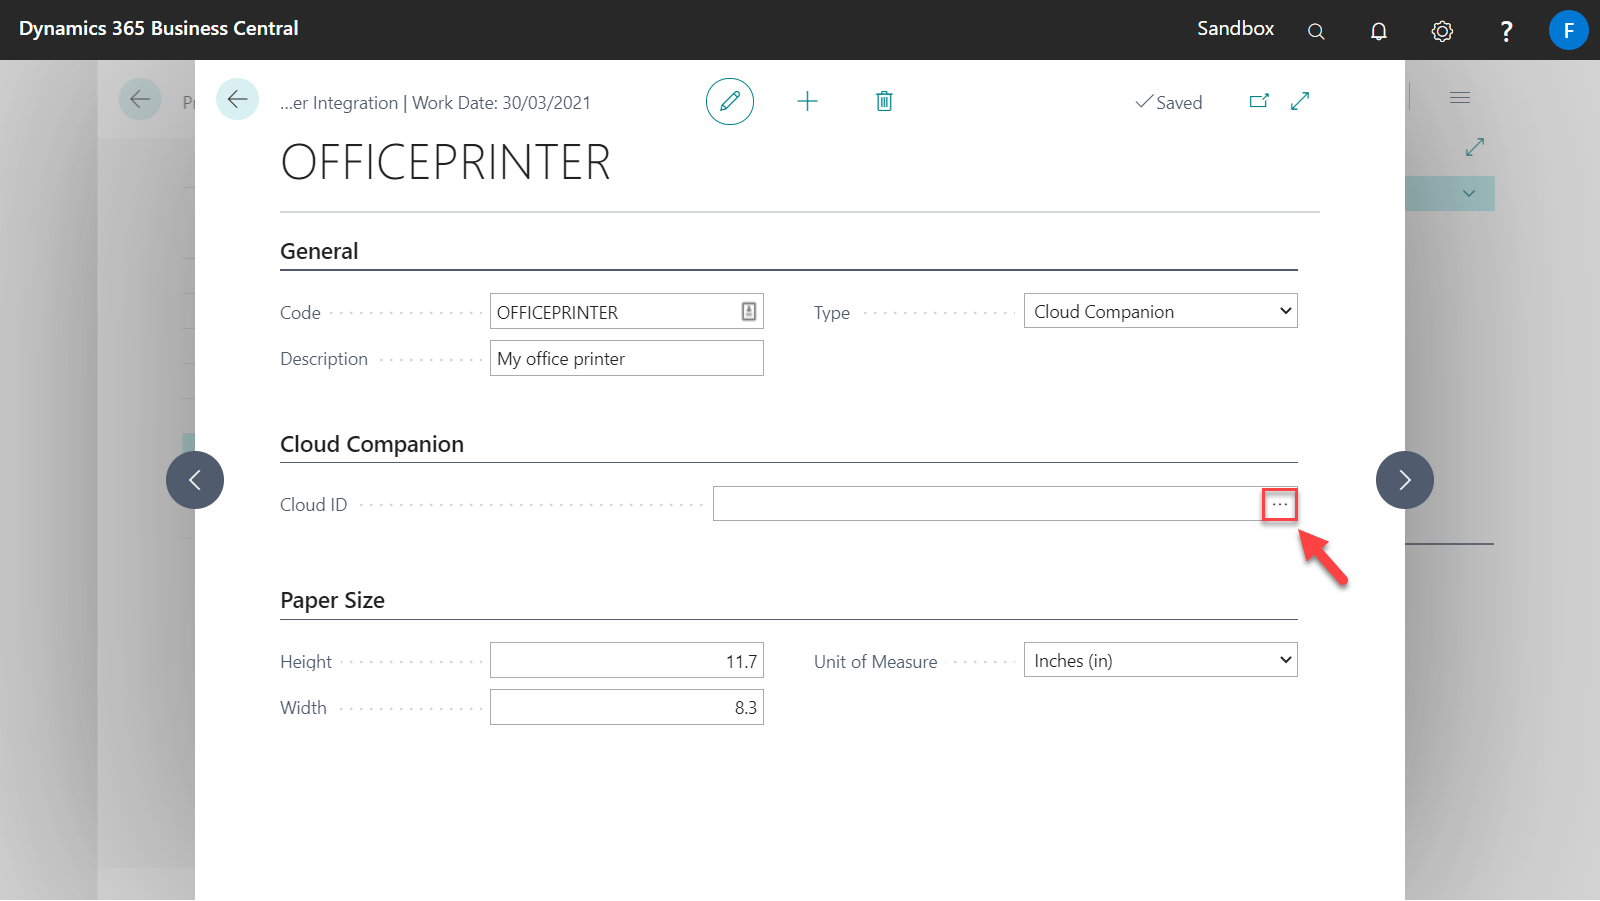
If you are unable to open the dialog, please make sure that you have set up Print-It with Cloud Companion correctly. - Select a printer and then choose OK on the dialog.

- The ID of the selected printer will be automatically filled in the field.

Custom Paper Sizing (Optional)
You can specify custom width and height of the printouts. By default, the paper size is set to A4 (8.3 x 11.7 inches) for a new Printer Integration. For instance, you can set the paper width and height to 4 and 6 inches respectively if you want to print out a report as a standard 4 x 6 shipping label.
| Field | Description |
| Height | Specifies the height of the paper. Default value: 11.7 inches |
| Width |
Specifies the width of the paper. Default value: 8.3 inches |
| Unit of Measure |
Specifies the unit of measurement for the width and height of the paper.
Options:
- Inches (in)
- Millimeters (mm)
Default value: Inches
|
All done! Your new Printer Integration is now ready to use for printing reports or labels in Business Central.
More Information
For more information on printing reports using Print-It with Cloud Companion, see the articles below:
Print-It with Cloud Companion also works with Label-It which enables label printing in Business Central.
Comments
0 comments
Please sign in to leave a comment.